
Henna is a flowering plant that has been used for centuries to dye hair, skin, and fibers. The art form of henna (or mehndi) is a beautiful decoration of the skin and the designs vary from region to region. Getting henna is similar to a temporary tattoo, in that it does not pierce the skin, and will fade away in 1 – 4 weeks. Mexicali’s Henna Kit makes applying your own henna simple and fun.

Carly getting traditional henna in India
Mexicali’s henna powder is made of pure henna leaves and absolutely does not contain any dangerous PPD’s or lead.
Check out this tutorial we created on how to apply your own henna design: [youtube=http://www.youtube.com/watch?v=eiJj60w0J6s&feature=plcp]
- Mix the henna powder and water in an approximate 1.5 henna powder: 1 water ratio. This ratio will vary depending on weather and temperature. The henna paste should be about as thick as yogurt.
- Let paste sit for 2 hours or as long as overnight before using
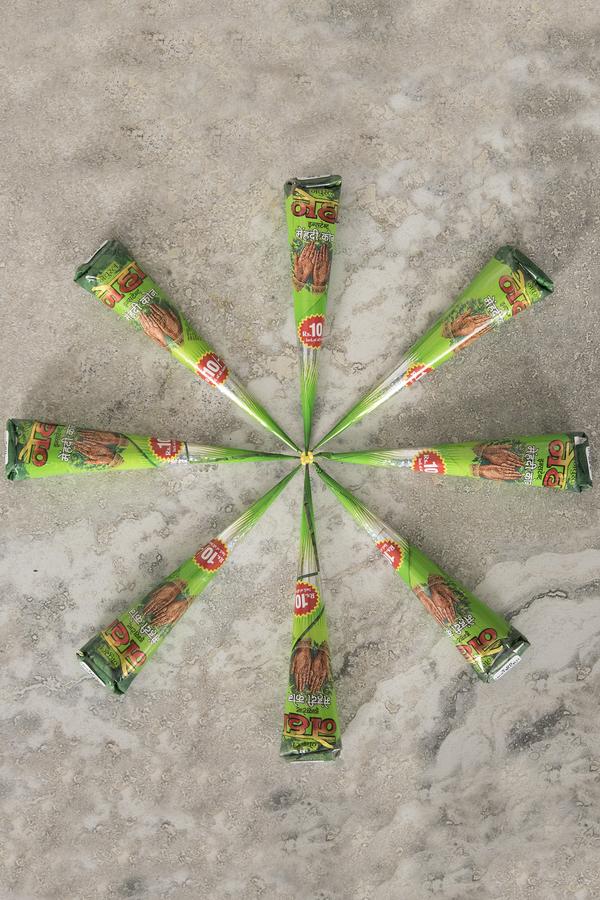
- Fill cone with henna paste
- Wash body part where you want your henna tattoo & apply a few drops of henna oil to skin
- Draw design freehand or use the stencil from the kit
- Let henna dry (about 2 hours)
- Wash off and admire your temporary henna tattoo!
After using the Henna Kit for the first time and making our video, we learned some tips and tricks including:
- Try using an acid (such as lemon or grapefruit juice) in place of water to enhance the color of your henna (makes it darker)
- A metal bowl or spoon can tarnish from the henna paste; glass or plastic is better for this project
- Tape or use a binder clip on the top of your filled cone to prevent leaks
- You can freeze or refrigerate prepared henna paste for later use! We had some leftover that went to waste because we did not know this tip! Cover and refrigerate the paste for 3-4 days, or freezing will keep it good for a few months. Just thaw and use as you normally would.
- If you want to try using a brush instead of the cone to apply the henna, just mix the paste thinner than usual by adding more liquid, until it is about the consistency of paint.
As soon as the henna paste is dry you can wash it off, however the longer you leave it on the darker the color will be. After washing, the henna should continue to develop its color for a few hours. This photo shows what Carly’s design looked like the next day: Remember, have fun with it and practice makes perfect! Henna inspiration can be found everywhere, and you may just end up with a fun new hobby!

Traditional Henna Designs (The Henna Girl)
The post How to: DIY Henna Tattoo appeared first on Mexicali Blues Blog.